
With the weather getting better I find myself deploying more projects outside, which means more projects that need to be enclosed and protected from the elements. There are a number of DIY options these days when it comes to project enclosures: 3D printing, laser-cut acrylic, etc. I have access to most of those options, but I am also someone who doesn’t want to reinvent the wheel.
I decided to explore what my not-so-local big box hardware store had available. With an open mind and a few sensors and different boards for rough size and test fit, I found a couple of options, but one I really like and stood out to me: external weatherproof electrical junction boxes. I know, not super creative, but here are a few reasons that I went this direction.
Form Factor Options
I picked up a number of different sizes and shapes and found that each one seemed to fit different form factors nicely.
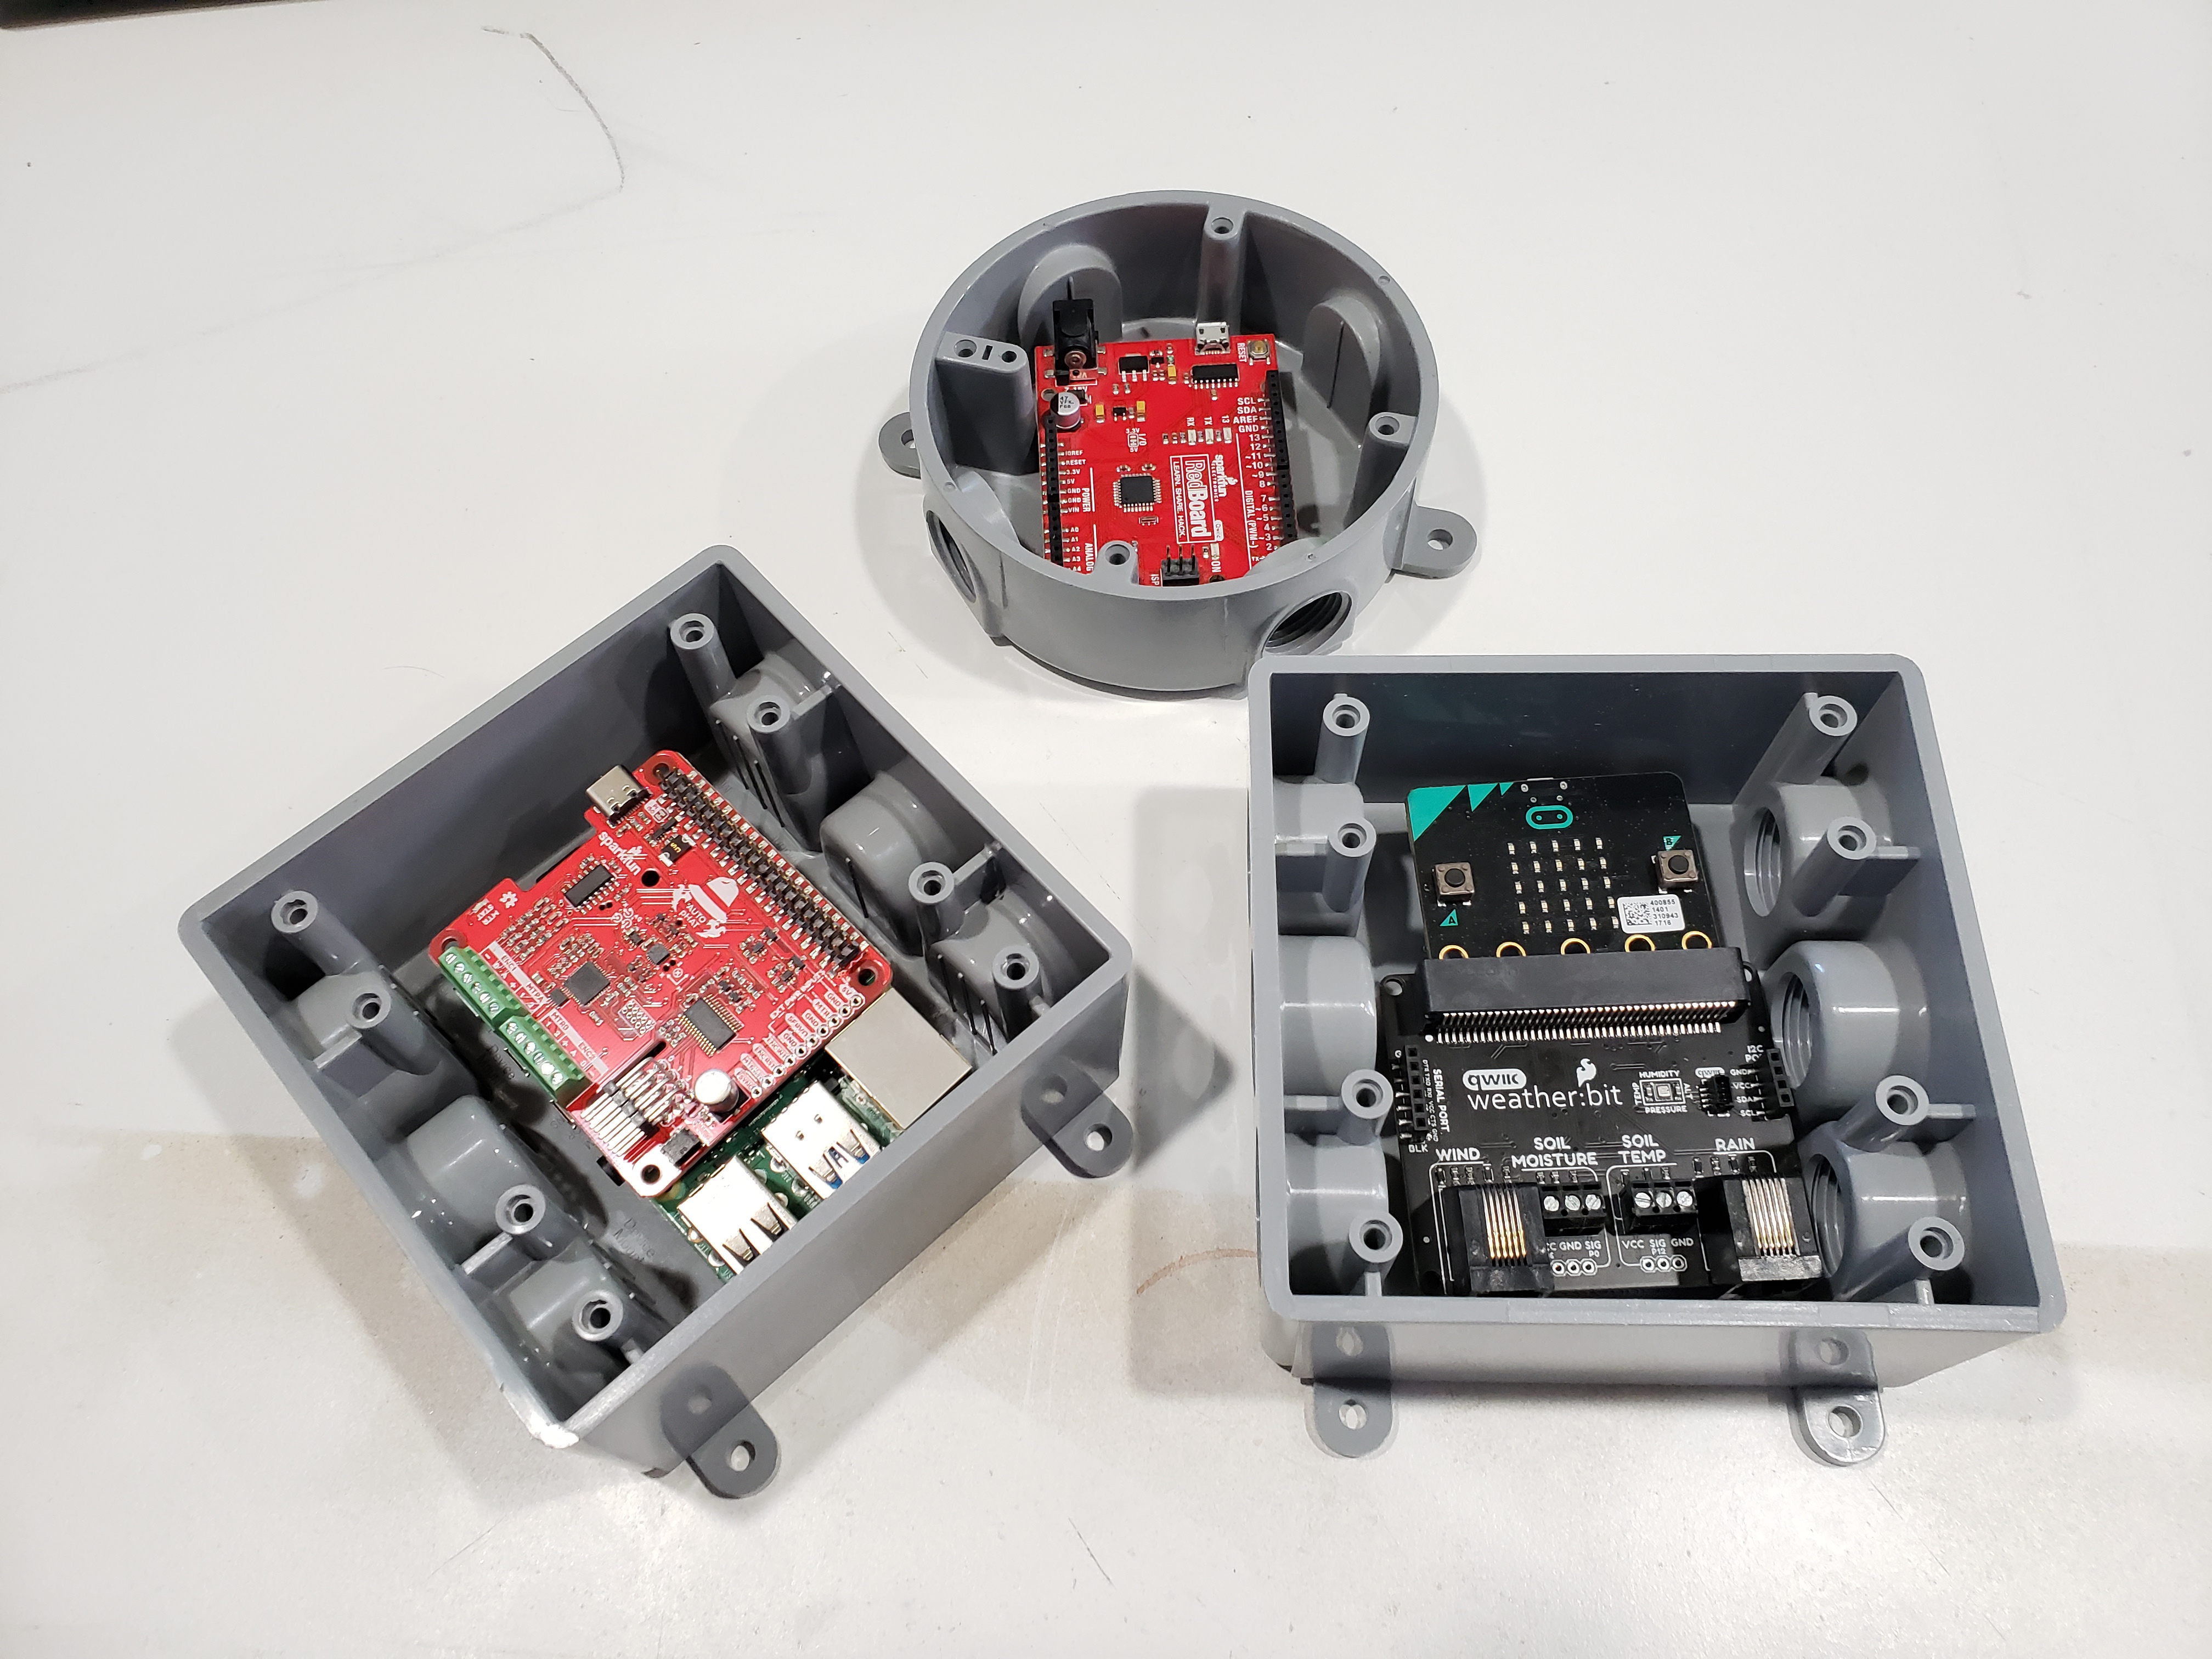
From the Raspberry Pi and Arduino Uno form factor, to our Thing+ and even the micro:bit with a carrier board, it seemed like most factors found a cozy home with enough space to add a peripheral boards like shields, PHATs, or access to a Qwiic connector to leverage the Qwiic System.

One issue I did find with the snug fit of these enclosures was access to USB for power and/or programming once the project was put together. I solved this by reversing my thinking about mounting the boards in the enclosure. Instead of the project facing “out” from the box, I mounted the development boards to the enclosure lid. This had a number of benefits.

Attaching the majority of my project to the lid makes it removable from the project for reworking/reprogramming at my desk, while the enclosure can stay attached to wherever I mounted it.
You can buy the lids for most brands of external enclosures separately from the enclosure housing itself. This means I can mount different projects or versions of the same project to different lids and swap them in and out as I see fit. The benefit of the different lid system also means that it becomes an area that I am comfortable with modifying, cutting, sanding, etc., because it is easily replaceable if I mess up.
Industry Standard External Connections
The wonderful thing about using off-the-shelf enclosures is that they meet industry standards, so different boxes can connect to one another, with wiring passing from one to the other, in an easy to assemble way that is still dry and weather-proof.
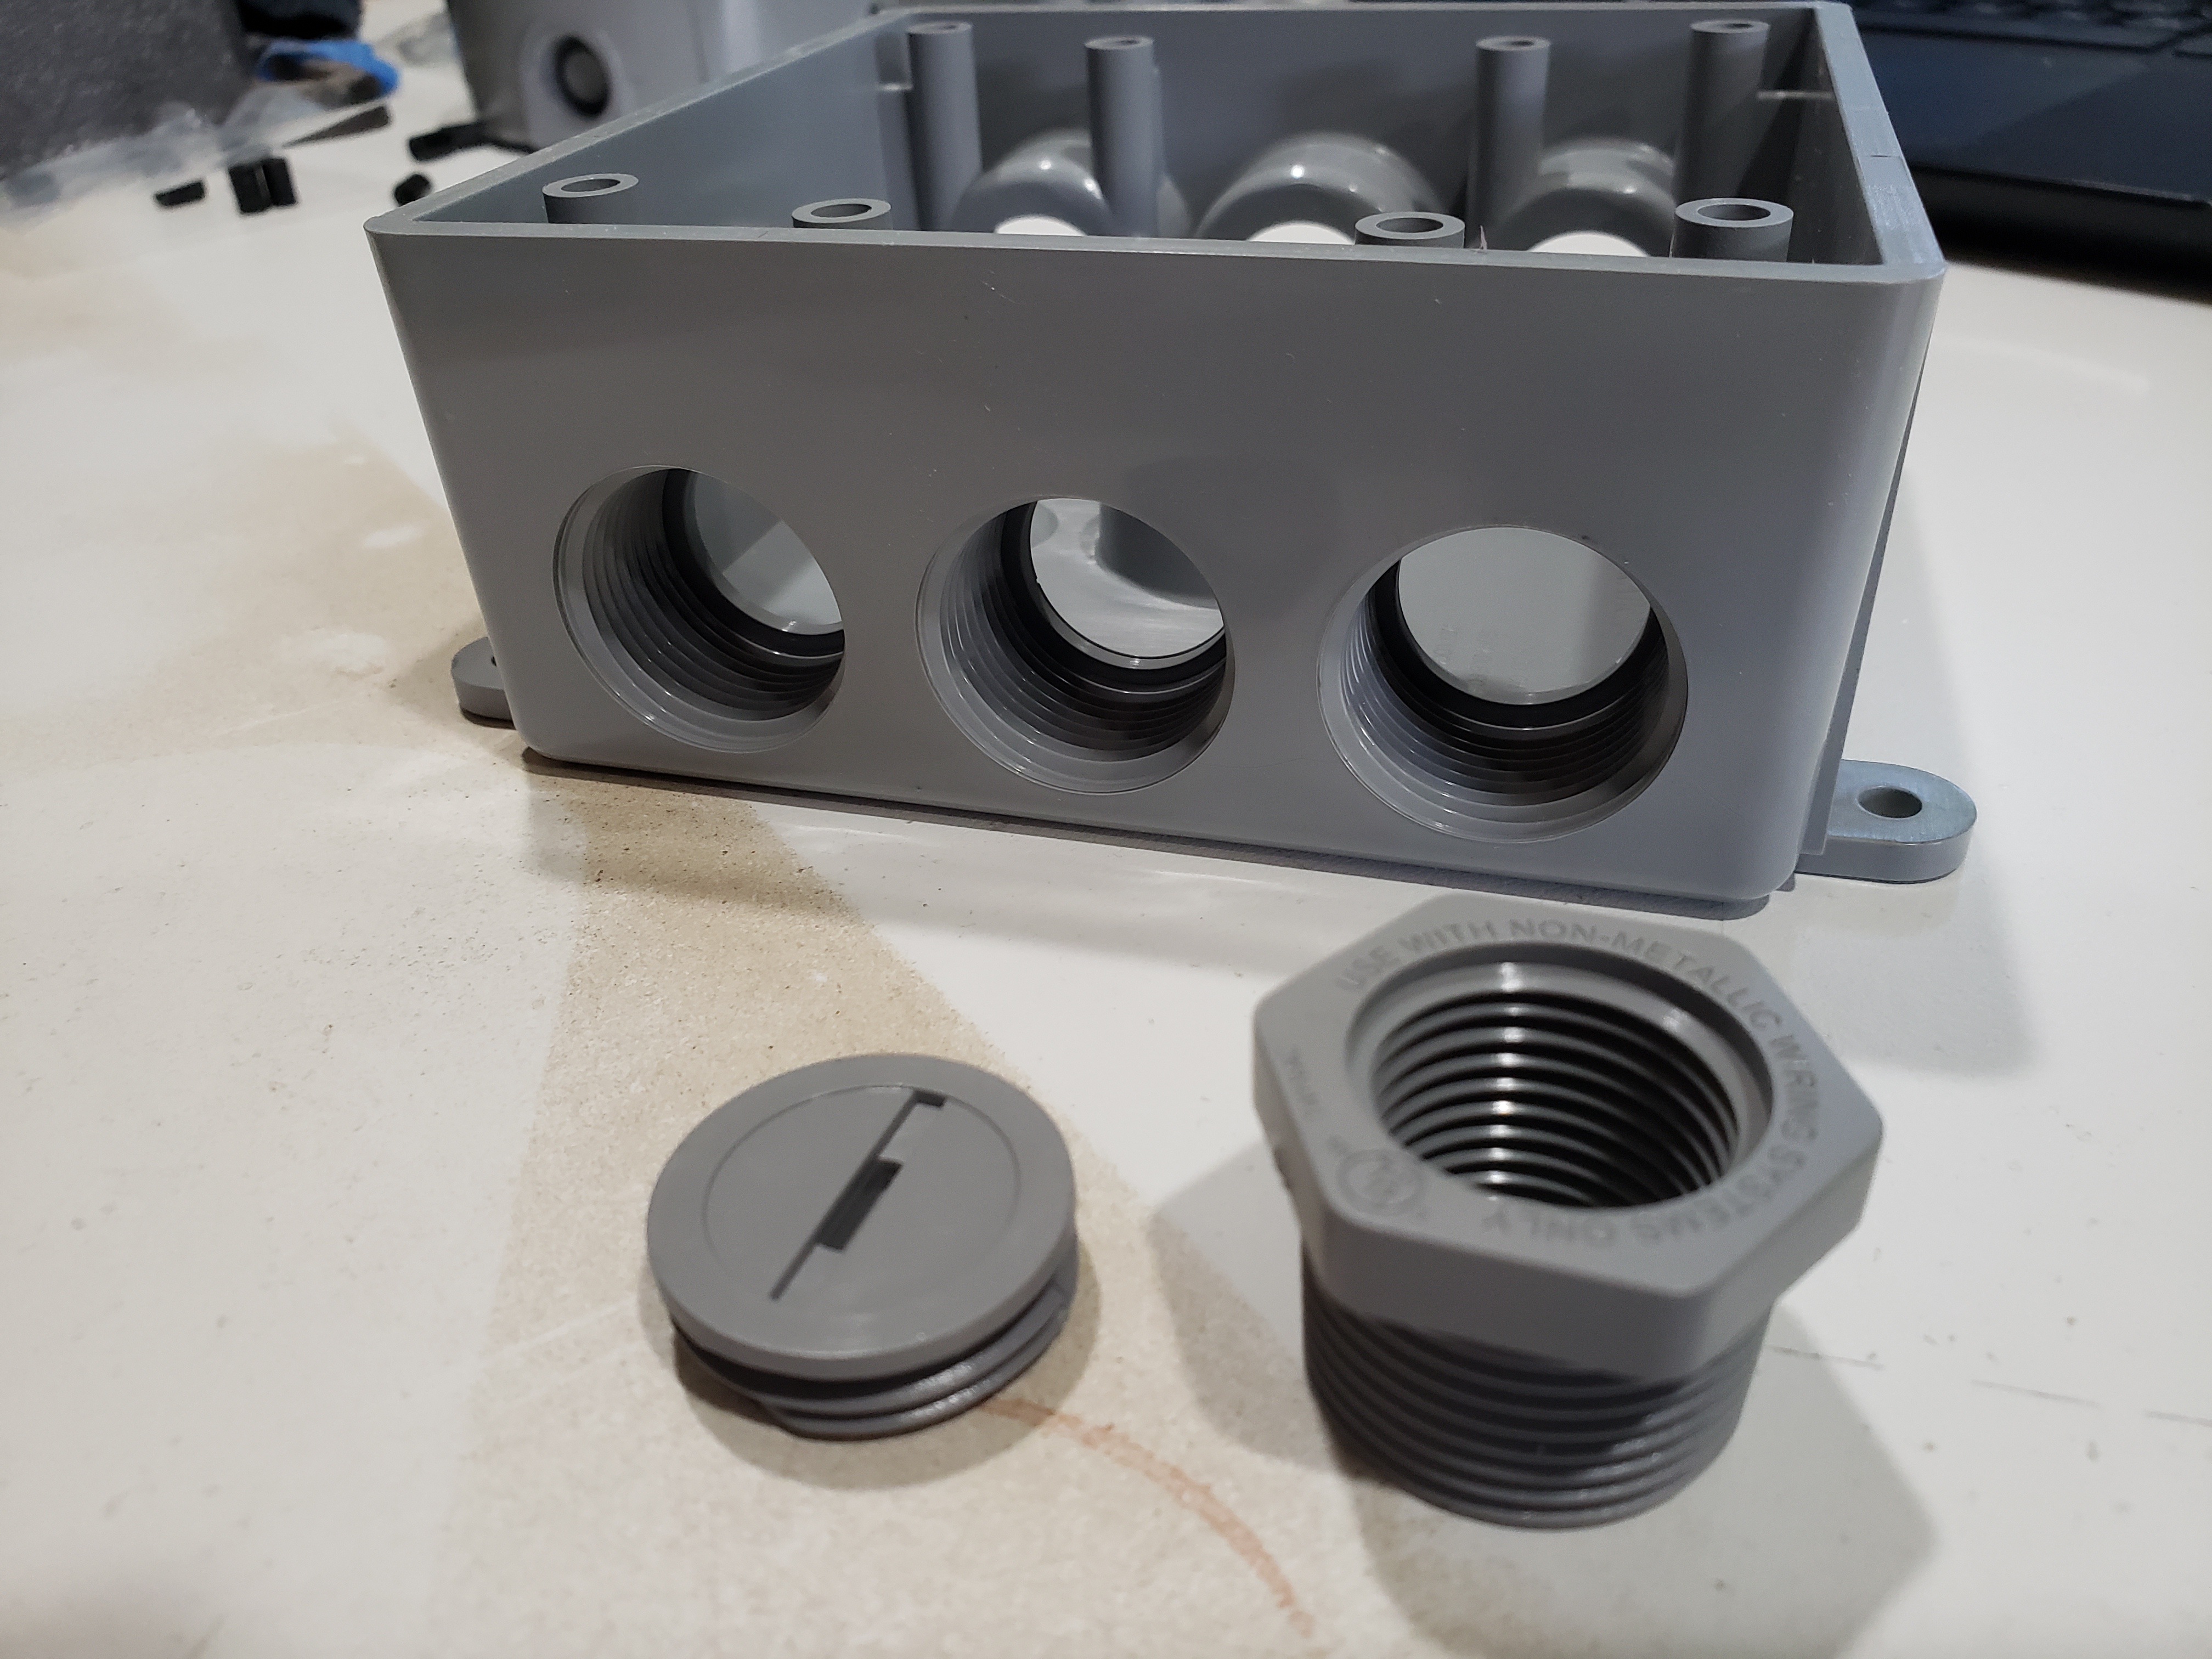
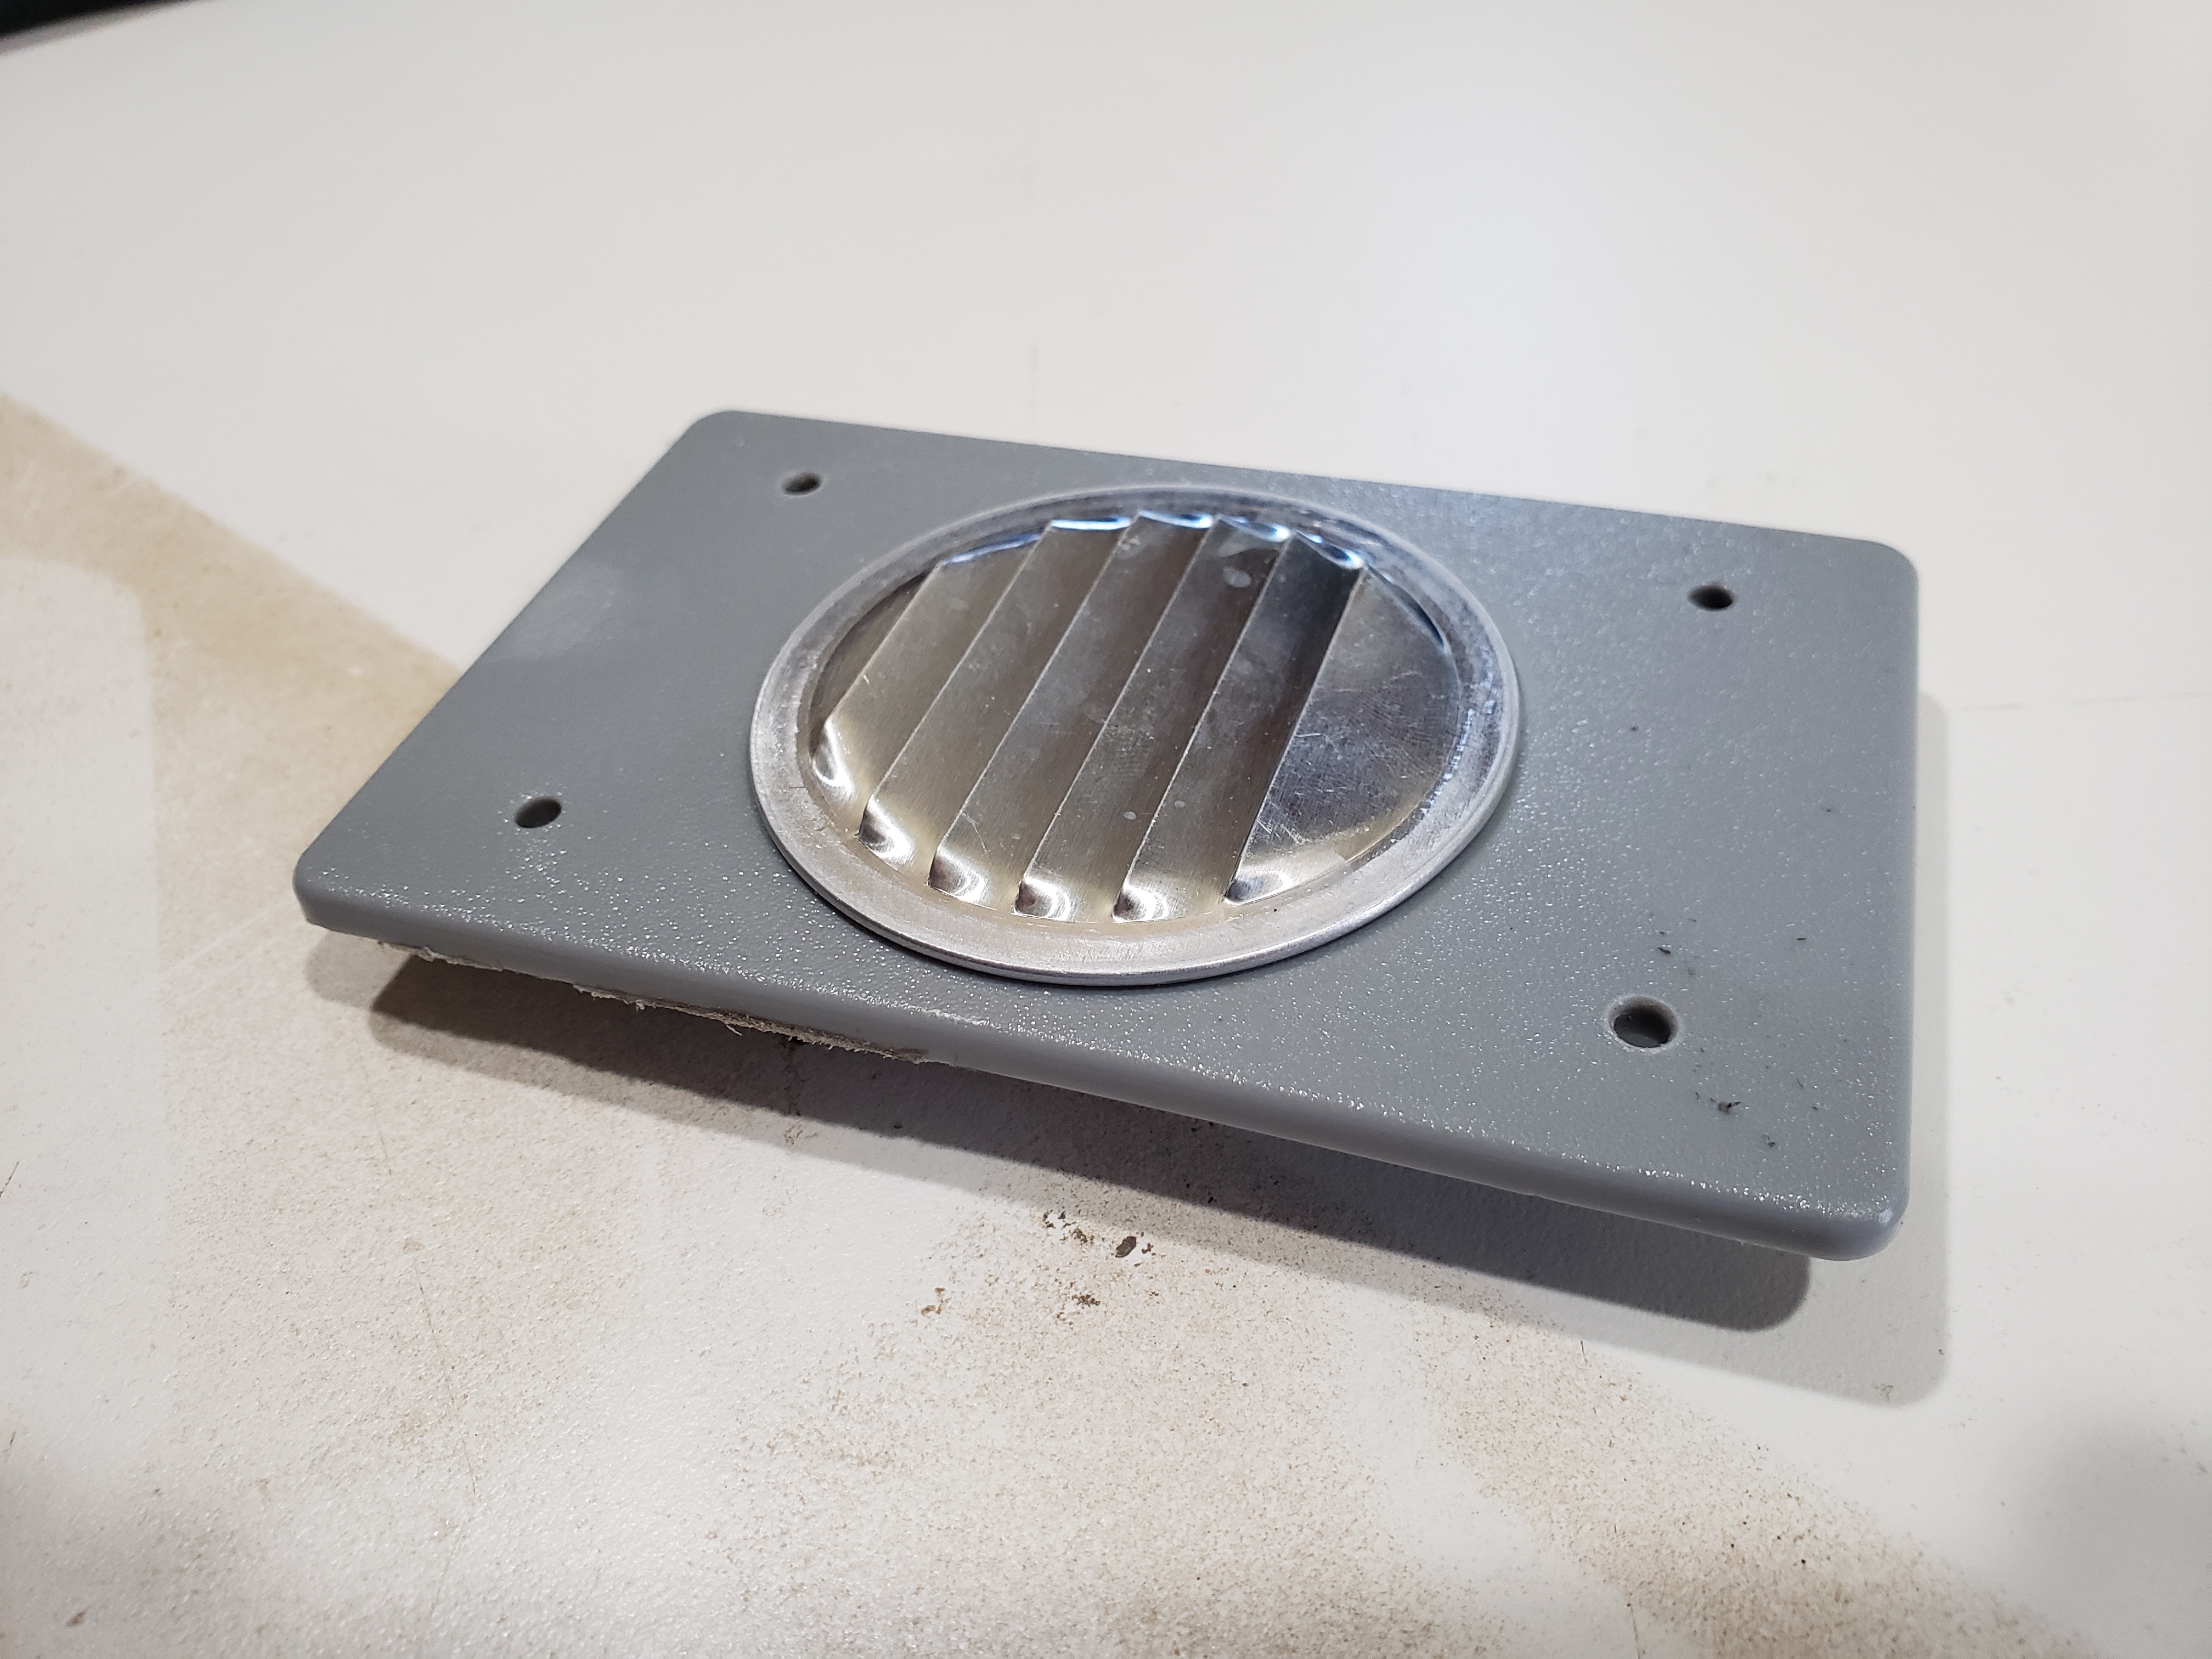
Trying to figure out how to drill holes, seal them up again for passing sensor wires through the enclosure wall, and then figure out an elegant way to seal things up again is always a challenge. With external enclosures, penetration points are already molded in and you can connect things via weatherproof wiring or even a fully enclosed conduit system to keep things dry.

In a project I just completed, I needed to connect to an external sensor as well as power. With the project being in my shop, it didn't need to be weatherproof, but I did find a connector that clamped the wires for strain relief, which is always a plus in my book. You can find so many options to benefit your project here!
As a hard-learned side note... electronics tend to get warm in enclosed spaces, so I moved my temperature sensors into a short piece of conduit with small holes drilled into it.
Durability
I think this can be read between the lines in this post, but the thing that stands out with using these boxes as enclosures for projects is the durability they offer your project at relatively low cost. These boxes are designed to be outside, to be rained on, to be in the sun, to be hit with an errant baseball, etc. This durability comes from the expectations that come with these being external use, and because of that I use them in many indoor projects where the project may get bumped, dusty or dropped. It takes a lot to crack or break these things!
Range of Price and Quality
Now, I know that these enclosure options come with a price tag. No doubt I could have 3D printed a relatively weatherproof enclosure or even made one with basic shop tools, but I went this route because they were readily available and will stand up to the elements, let alone saving me the time it takes to design and build an enclosure.
That being said, what you are protecting your project from and how long it will be exposed, as well as the permanence of your project, will dictate the level of investment for you. Many times my projects fall into the tupperware-and-tape category for enclosures, but the projects I have been doing recently have been more permanent, and so I went for higher quality. It’s all up to you, but I have found using these off-the-shelf boxes as enclosures are a huge savings in time and effort to get a project deployed.
So far things have worked out well for me using this method, and I keep finding ways to build out DIY systems around my home and yard, from data collection in my garden to a control system for my air compressor. The next time you are in the hardware store, take a moment to stroll down the aisles and see what you can find.
How about you? Have you gone this route with enclosing projects? What other off-the-shelf parts and bits have you used from the hardware store for your projects around your home or office?
from SparkFun: Commerce Blog https://ift.tt/2B987H0


No comments:
Post a Comment
Please do not enter any spam link in the comment box.